
Wrap It Right: The Ultimate Guide to Reusable Art Bags! 🎨🖼️
Kelly BatsiokisIf you’re an artist or art lover, you know the struggle—how to protect your precious artwork while transporting to galleries or to clients, while keeping it eco-friendly. Enter reusable art bags, the unsung heroes of art transportation!
Why Go Reusable? Let’s face it: traditional packing materials can be a mess and also expensive —think plastic wrap, bubble wrap, and all that tape! And I don't know about you, but the careful packing materials are hardly ever returned at the end of an exhibition so you have to do it all over again to transport artwork back (or to another location). But with reusable art bags, you get durability, protection, and a green alternative that Mother Earth will thank you for. 🌍
These bags are not just sturdy; they’re built to last through countless art shows, moves, and gallery trips.
Features You’ll Love
- Easy Handling: These bags are super easy to use, with tape, velcro or ay other closure that keep your artwork snug and secure.
- Multiple Sizes: Whether you’re wrapping a petite painting or a massive masterpiece, there’s a bag for every size that you can REUSE. Plus, the custom options mean your art gets a tailor-made fit!
- Eco-Friendly: Say goodbye to single-use plastics and hello to a sustainable solution that keeps your conscience as clear as your canvas.
Get Yours or Make Your Own! You can easily buy these bags online or in specialty stores, but if you’re feeling crafty (like I was), why not make your own using ceiling insulation that you can buy from Bunnings or other home renovation type stores? It’s an unexpected but brilliant material that offers both protection and sustainability!
Here’s How I Did It:

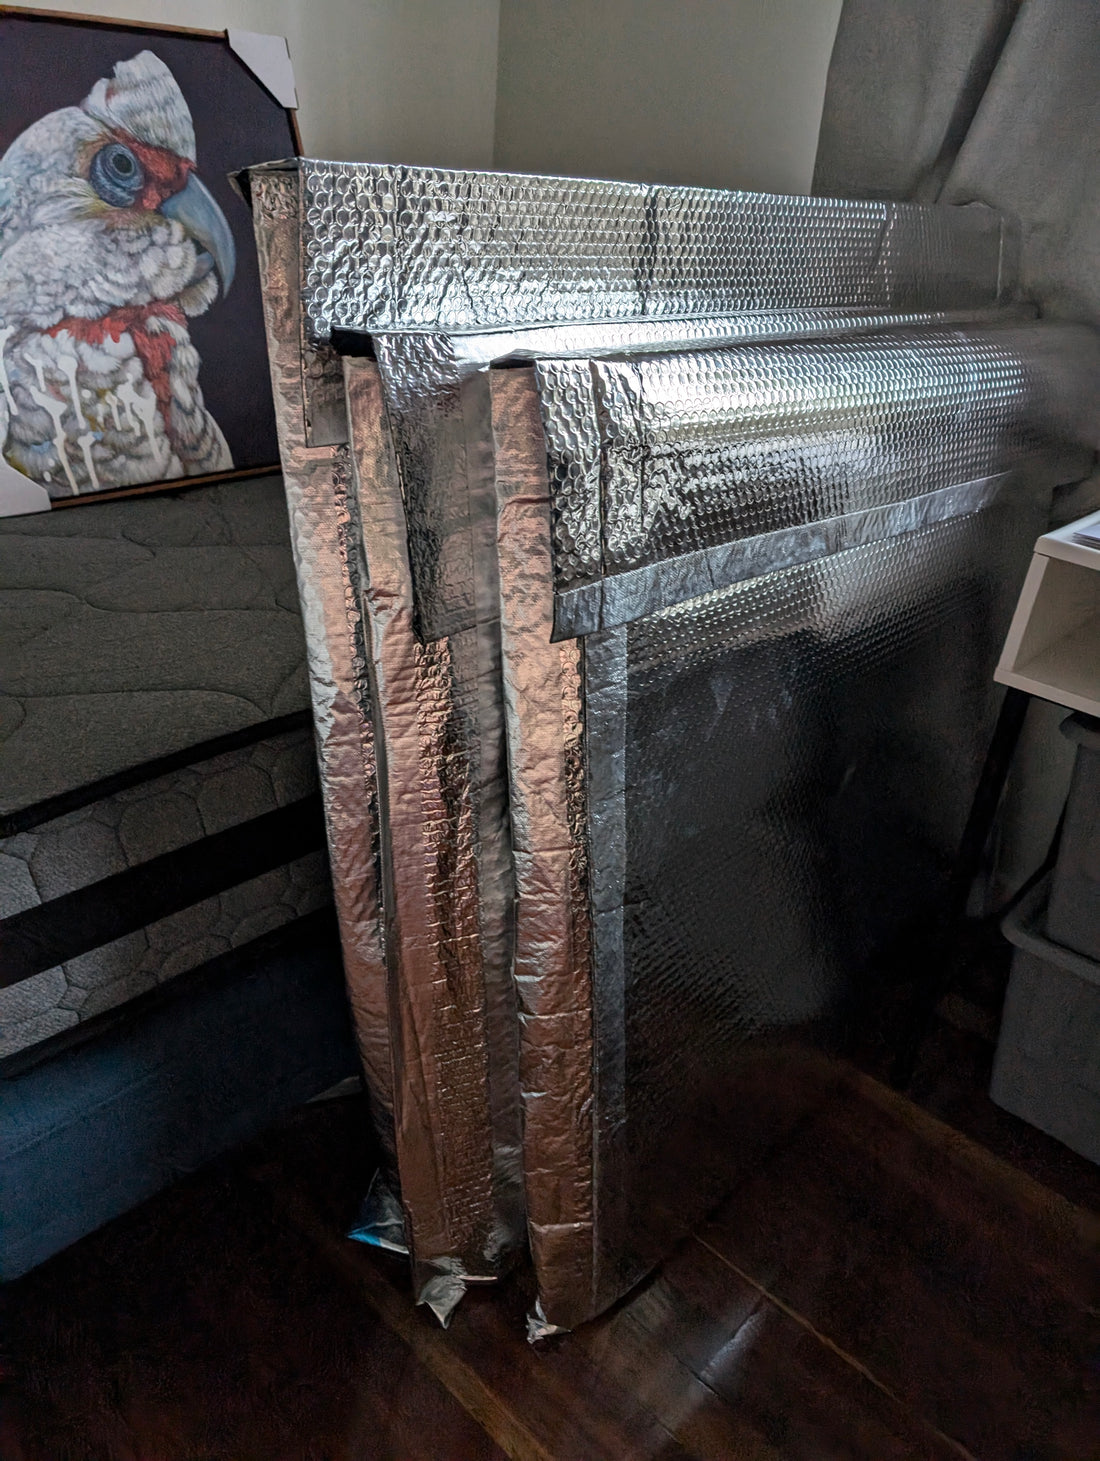
Image above: A 1.2m width 30m roll of ceiling insulation with 4 rolls of aluminium adhesive, and the only other materials I used - a long ruler and a marker (scissors unshown).
- Measure and Cut: Measure your artwork and cut the insulation to size, allowing extra room for seams (about 4 inches/ 10 cms) and a flap closure (another 20 cms on one side only). Make sure to leave enough space for the thickness of your artwork!! If your artwork is thinner than the thick framed gallery style canvases you might get away with 7.5cm seams. It is good practice to make one bag completely and test it, and then adjust your approach. It's better to make it slightly too big than too small!

Image above: The artwork being custom fit. Making sure there is enough space around it to accommodate the thickness of the frame and corners.
- Add a Closure: Attach velcro strips to the open end to secure the bag. Velcro works great with insulation material and is easy to use, or you could just use some "normal" tape. I haven't added the closure yet as I need to add a few things to each package.

Image above: The artwork fits easily and can be taken in and out without catching. It could be a little snugger but it is better to be a bit loose than too tight.
- Personalise It: If you’re feeling creative, you can decorate the insulation with paint (think paint pens!) to give your art bag a unique look! At this stage I'm probably going to at least label them so I know what size artwork fits in them again!
And there you have it—a custom, reusable art bag made from ceiling insulation! Not only does it provide top-notch protection, but it also repurposes materials in a clever and sustainable way. So next time you need to wrap your work, whether you buy it or DIY it, you’ll be doing your part to keep your art and the Earth safe!
How do you normally transport your artwork? Would you consider making these reusable art bags? Comment below.